Now I have made my studio and have the lighting set up. It's time to bring my models in apply some colour and render them. I decided to apply materials to my guns via Cinema 4D on the basis of the wide variety to choose from.
Here are the images showing how I imported the models, how I applied materials to them and how I rendered them out into high definition images.

Firstly I went to File, merge then opened the OBJ export of my model from Maya.

Once the model is imported, I check to make sure all the components of the gun were there for adding materials too. You can see this in the top right hand corner.

I then went to the file tab on the material editor and chose 'new material' as a basis to begin applying colour to my gun.
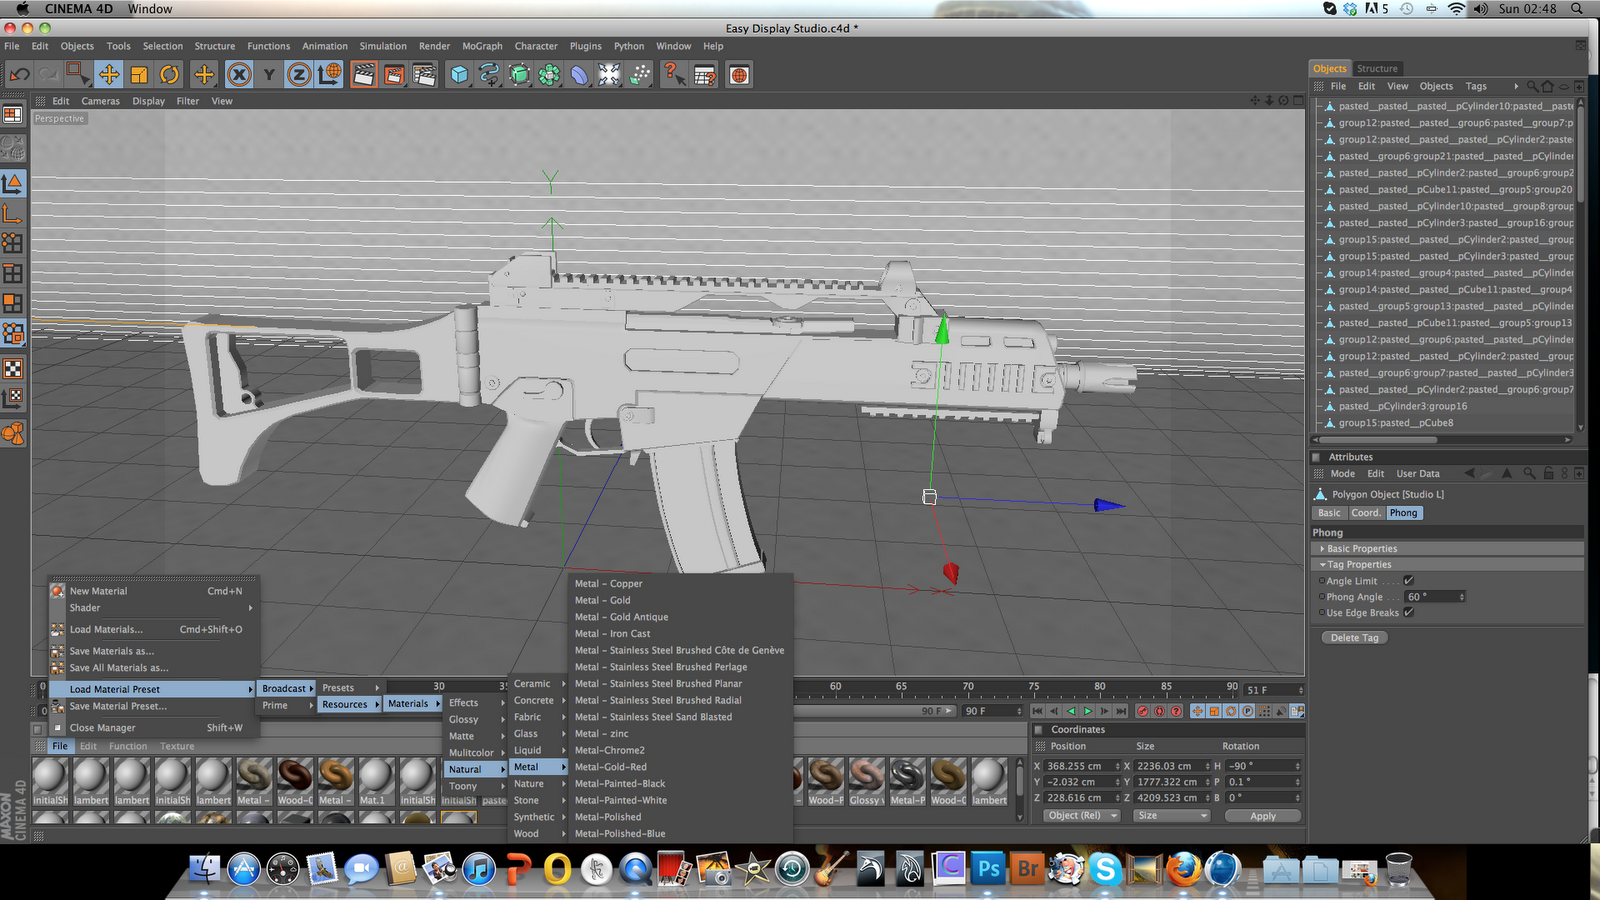
I then went to apply a material and looked into the different types I could choose from. For this specific gun I want two types of polished metal, as this gun is modern. A dark gun metal for the main parts of the weapon and a shinier, polished metal for the details, like screws etc.

Here is the Gun metal material ready for application.

Here is the polished metal for the details.

Although my cursor can sadly not be seen here, I have highlighted the weapon and dragged the material on to it.

Here is the gun with the new material applied.

Here is a view without the grid mesh visible.

I then began dragging the polished material to the separate details.

I wanted to add the polished metal to the inner chamber. However, without it being a separate object, I had to select it separately.

Using the select faces tool, I highlighted the inside faces of the chamber.

From the selected faces I was able to add the polished metal to only that section. This image shows the change in material between both the main gun and the chamber.

Here is the gun with all materials added in the correct places, ready for rendering!

I then went to the render settings menu where I changed the pixel ratio to 1280x720. I also made it HD ready so that the image comes out big and crystal clear.

I then selected the save option where I could choose the location and the file format of the image.

I also checked that 'Global Illumination' was turned on so that the lighting will be taken into account properly with the render.

To then render the image out, I went back to the render tab and selected 'Render with Picture Viewer'

Here is my model rendering in the picture viewer using the Global Illumination setting.

Finally! my gun has been render, showing off the materials and lighting beautifully and as I wanted to.

To save the image, I clicked 'File' on the Picture view and selected 'Save as'

I then checked the settings I had made earlier.

Named the file then saved it!
Overall, although my knowledge of Cinema 4D is yet to improve, I really enjoyed working with the software. Having modeled things before, I never though they were capable of looking so nice through a different programme. Learning the settings for light set ups and studios will take some practice, but I think I did pretty okay considering the time frame I had to get a basic grip of it.
No comments:
Post a Comment